A Photographic Guide To The Making Process
The making of each piece of jewellery is a detailed process that take many hours to complete. So that the kind of work that goes into making the piece can be seen, I have photogaphed several of the stages to give some idea of the process.
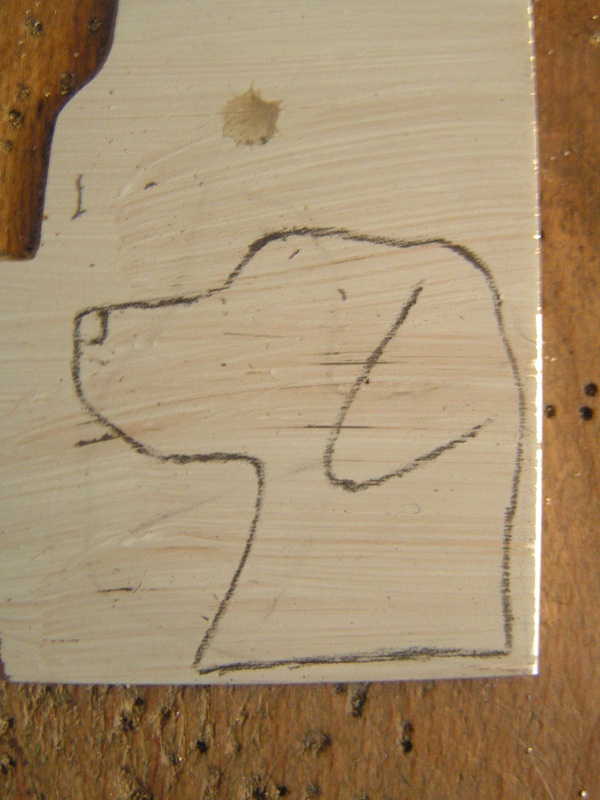
I work from Photos, so getting a good picture is really important and a few pictures really help. To start the process I draw a basic outline of the animal/person/object. This means I can see that myself and the customer are happy with it before it is transfered onto the metal.
I work from Photos, so getting a good picture is really important and a few pictures really help. To start the process I draw a basic outline of the animal/person/object. This means I can see that myself and the customer are happy with it before it is transfered onto the metal.


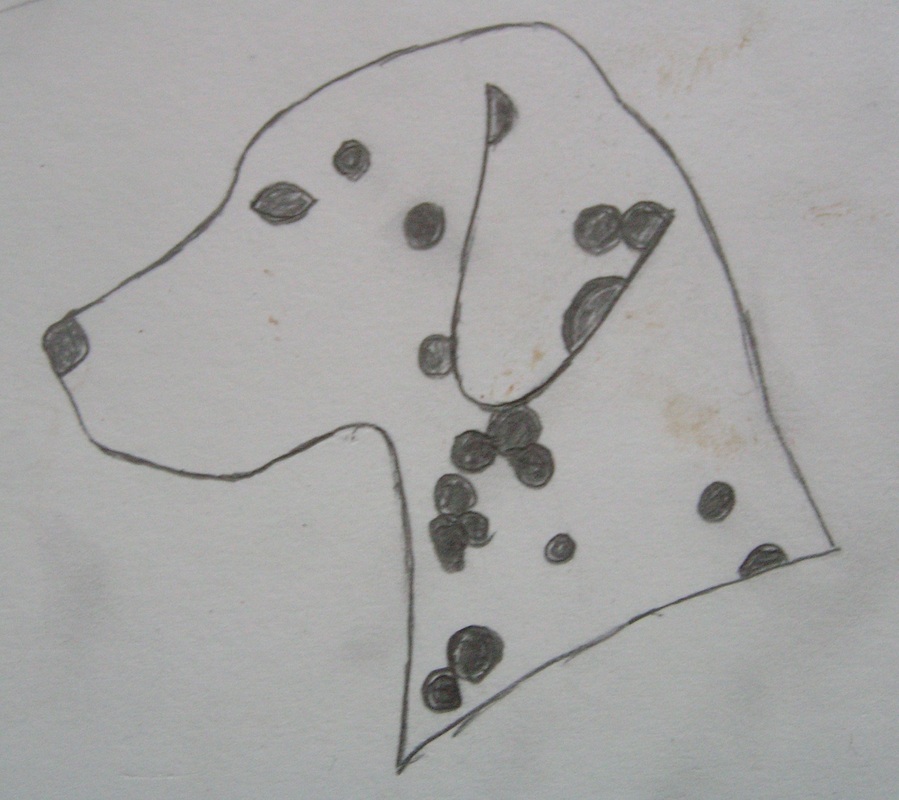
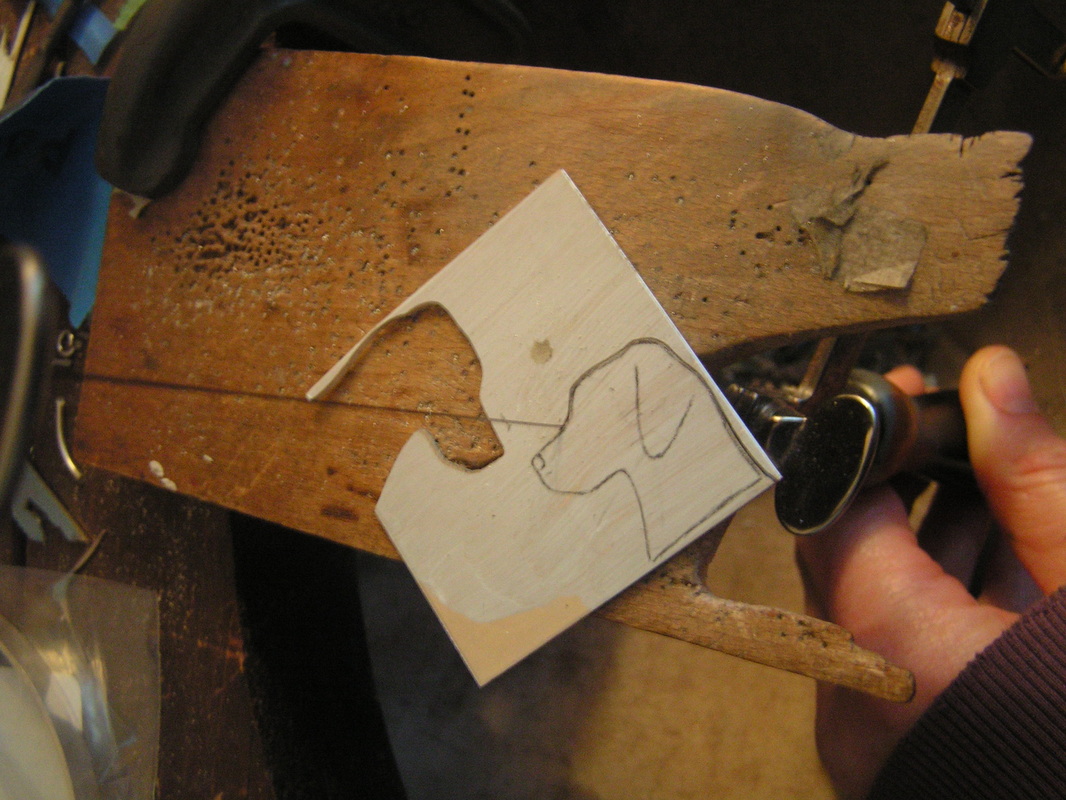
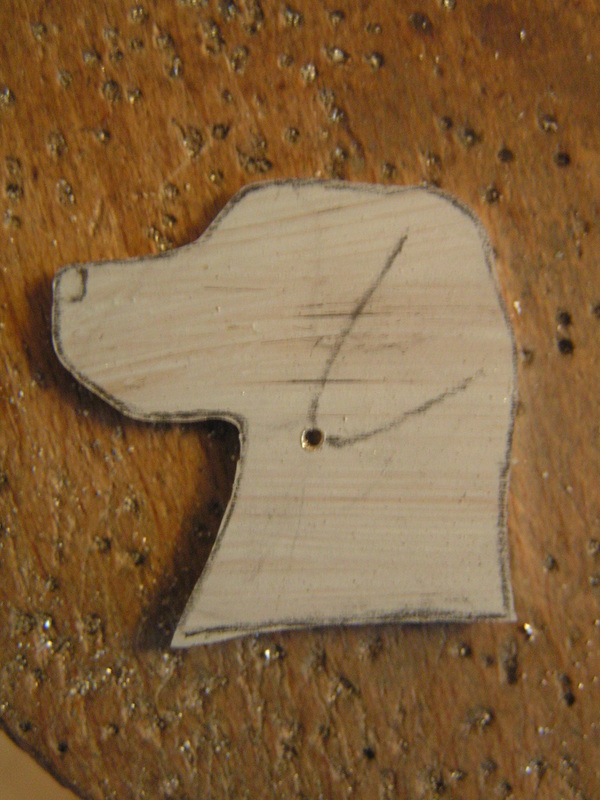
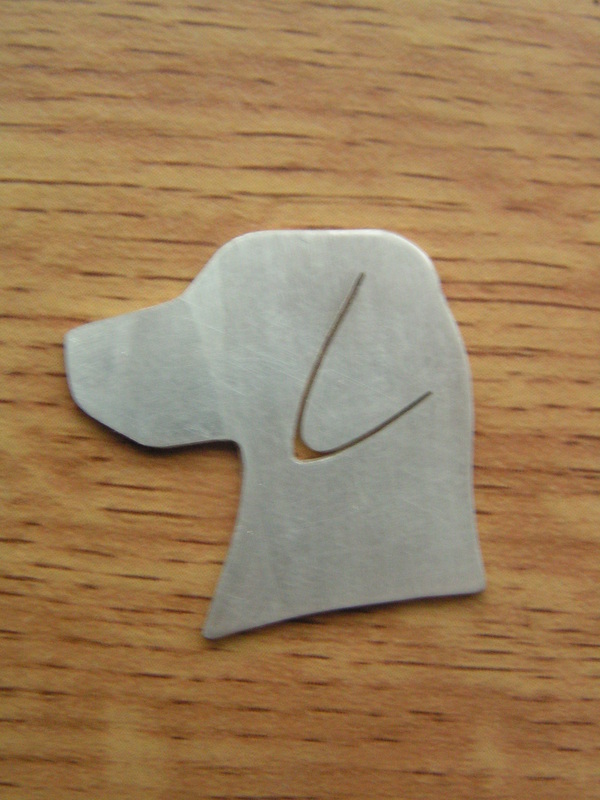
When I have the right outline, I then draw it onto the metal which I have painted white for ease of drawing on the metal. Once I have done this I start cutting the metal with a very fine piercing saw pictured below. Once the outline is cut out for this piece, I needed to be able to cut the outline of the ear, so this involved drilling a very small hole of .8mm with a small hand drill.
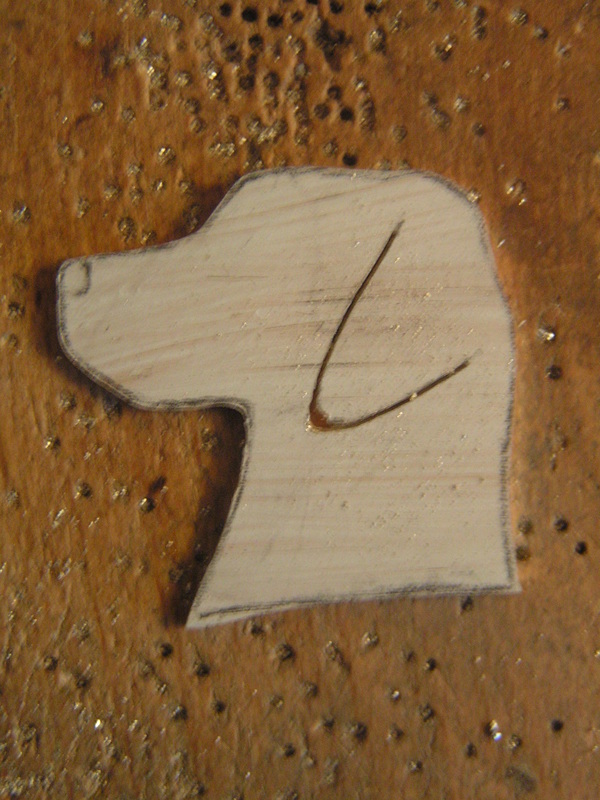
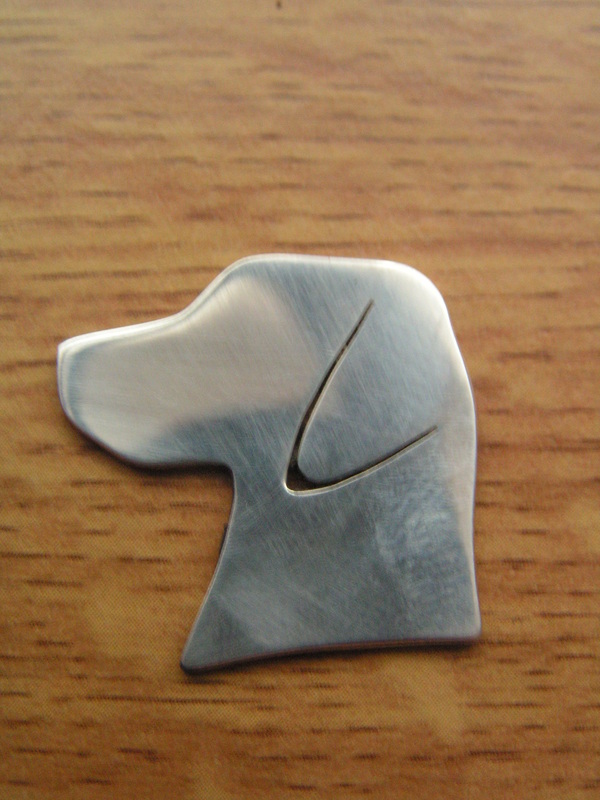
I then cut the outline of the ear with the piercing saw. The next stage is neatening up the outline and ear with files and sand paper and then sanding over the whole piece including the edges to make the whole thing smooth and neat and remove and marks from the saw and drill. The piece is then given an initial polish with tripoli abrasive polish using a polishing machine.
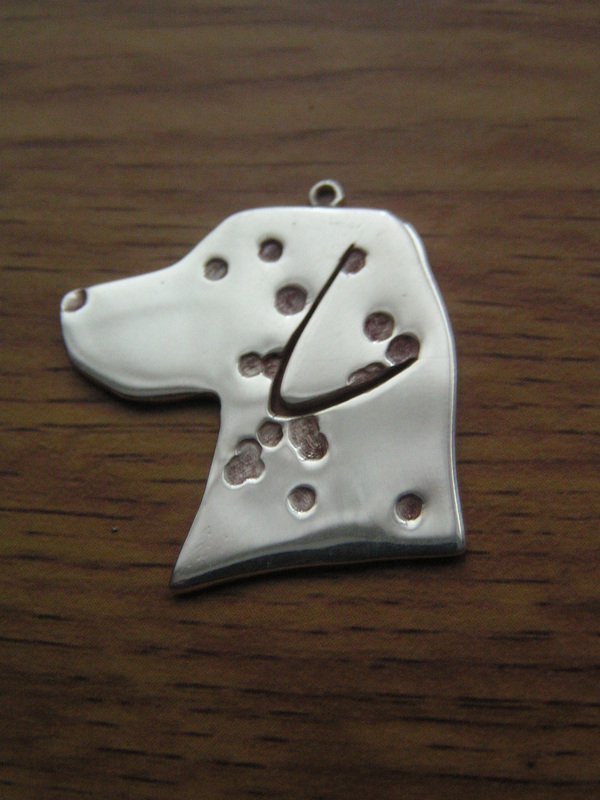
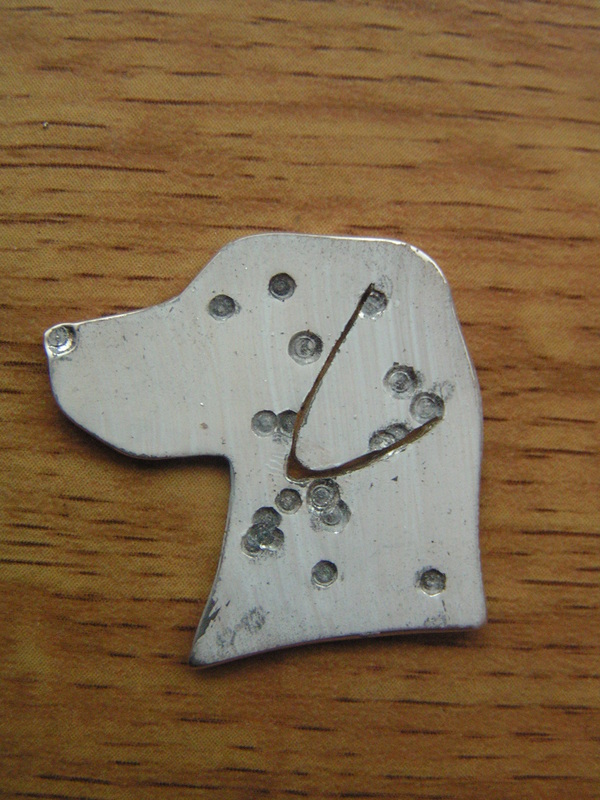
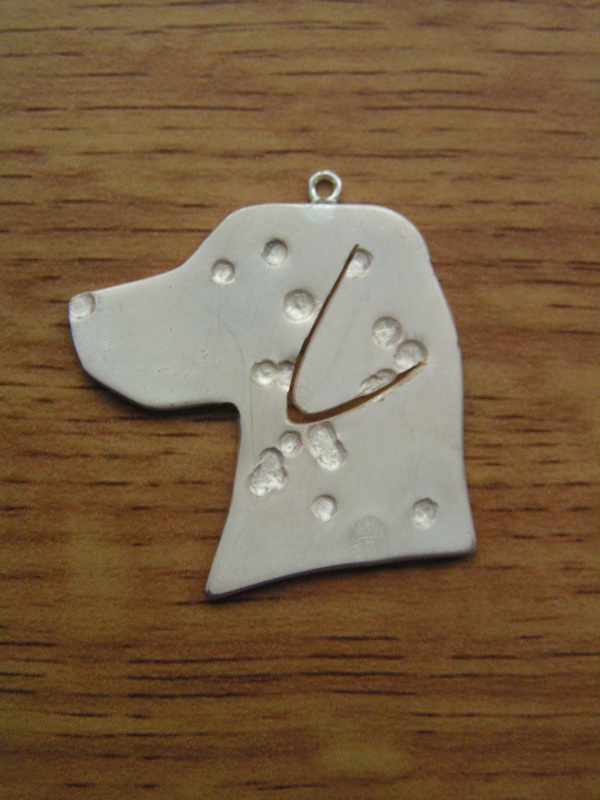
For this particular piece, I then repainted the piece with white paint so that I could draw on it again. I needed to add the detail of spots, eye and nose so marked in pencil where this detail would go. I then used very fine tools and hammers to indent and remove silver where this detail was to go. I then sand over the piece once more, with very fine sand paper. The piece is the placed in a special heated solution that makes sure it is free from any greece and dirt and makes sure that it is ready for soldering.

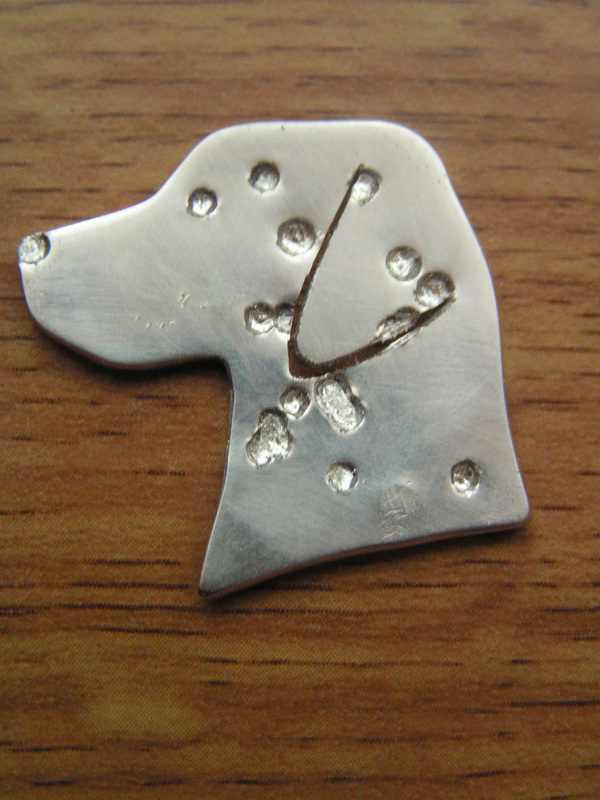
I then solder the link that will allow the pendant to be attached to the chain. Hammering the metal has caused some mis-shaping of the piece and has squashed the lines of the ears so this needs filing and sanding againas does the rest of the piece. It is then given another more thorough polish with the polishing machine so that the metal has a near perfect,high shine finish

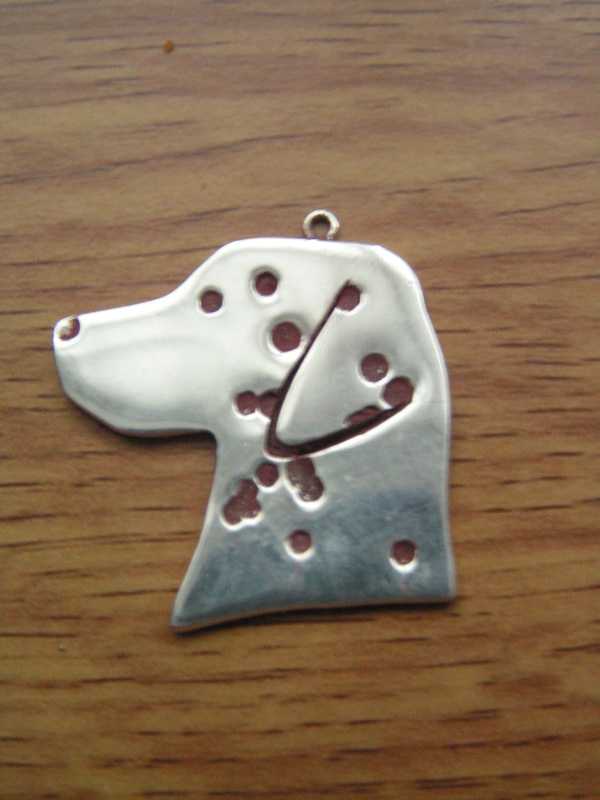
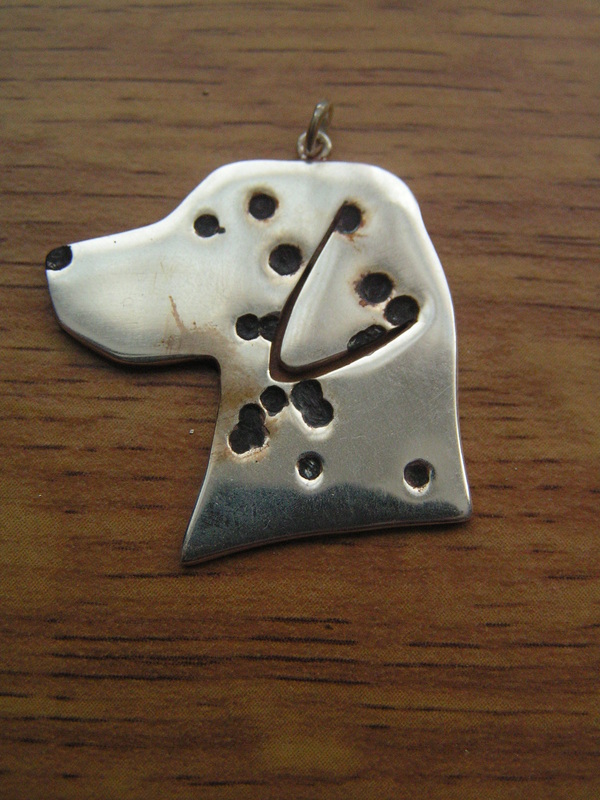
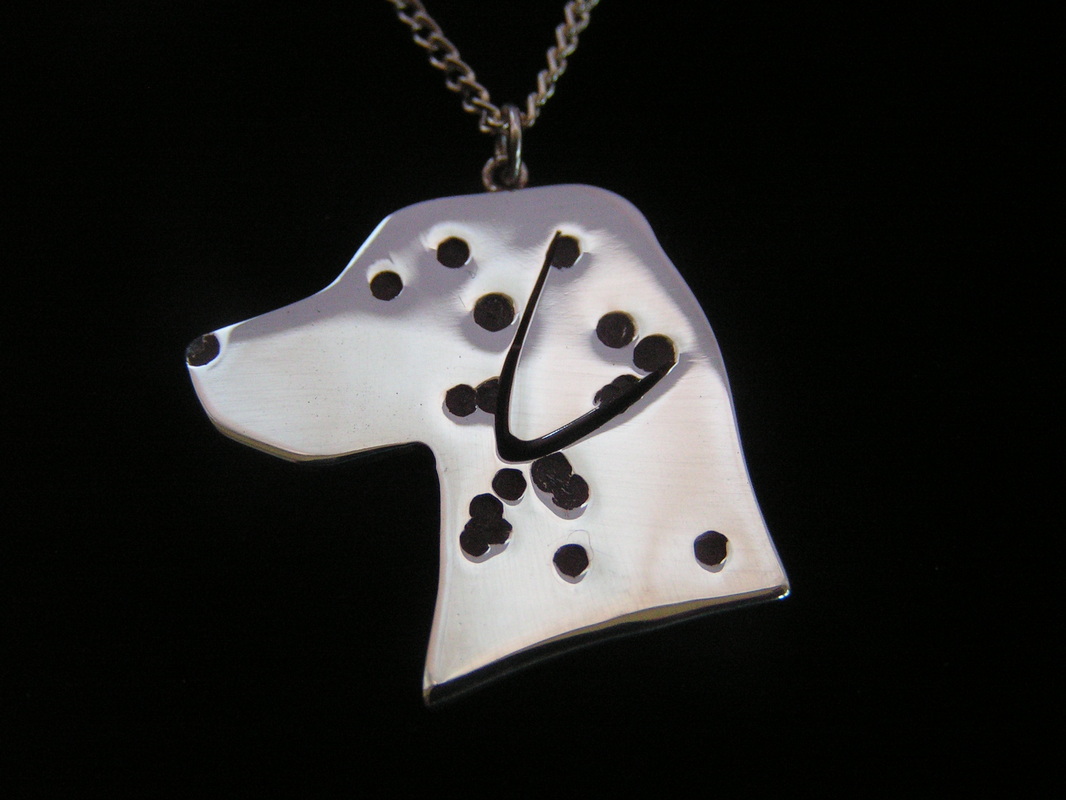
The piece is then placed back in the cleaning solution so that as much of the polish, grit and dust from previous work is removed - this prepares it for the next stage. Because this piece is a Dalmation and the spots were part of the piece, I needed to make the spots black. The best way of doing this was to use a solution that oxidises the metal. I added this to the metal using a needle so that there was minimal blackness on the rest of the metal. There is some leaking of the solution on to the rest of the piece so another final and gentle polish is needed to finish the piece off. Then the chain is added and the piece is finished.